Notes from Tammy

Feathered Elegance Whole Cloth Tips

Feathered Elegance Whole Cloth Tips

562 Feathered Elegance Whole Cloth

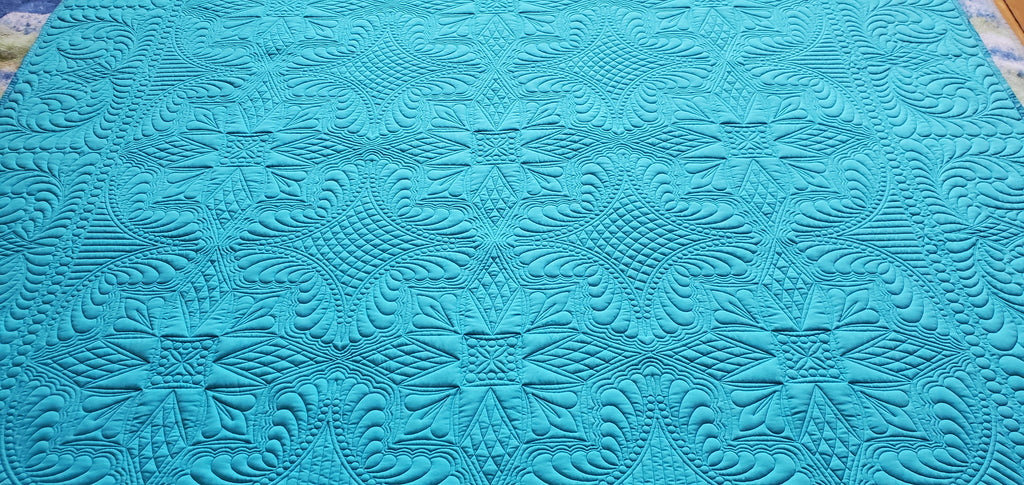
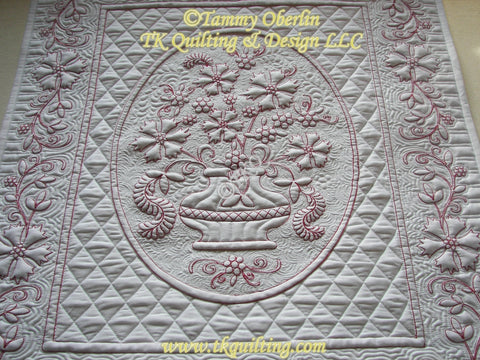
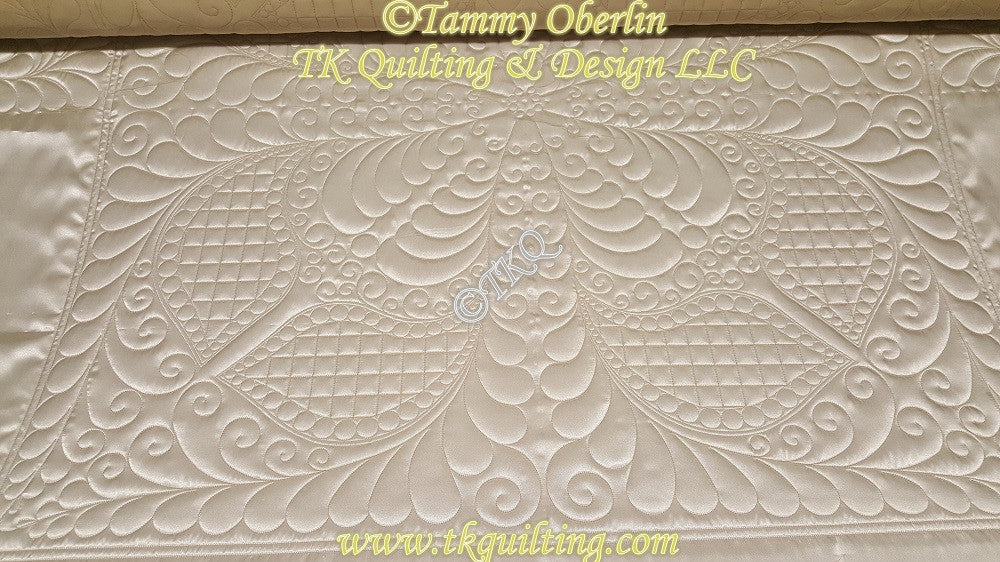
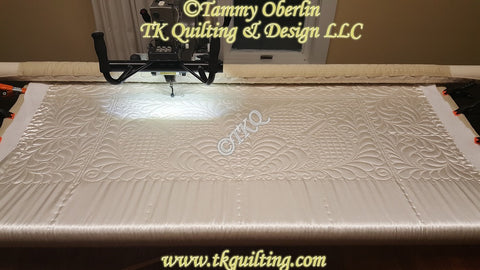
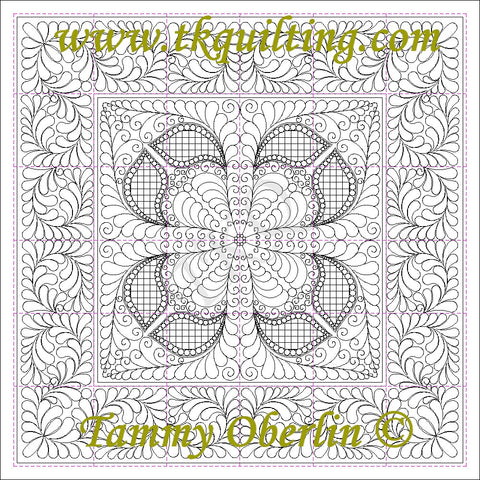
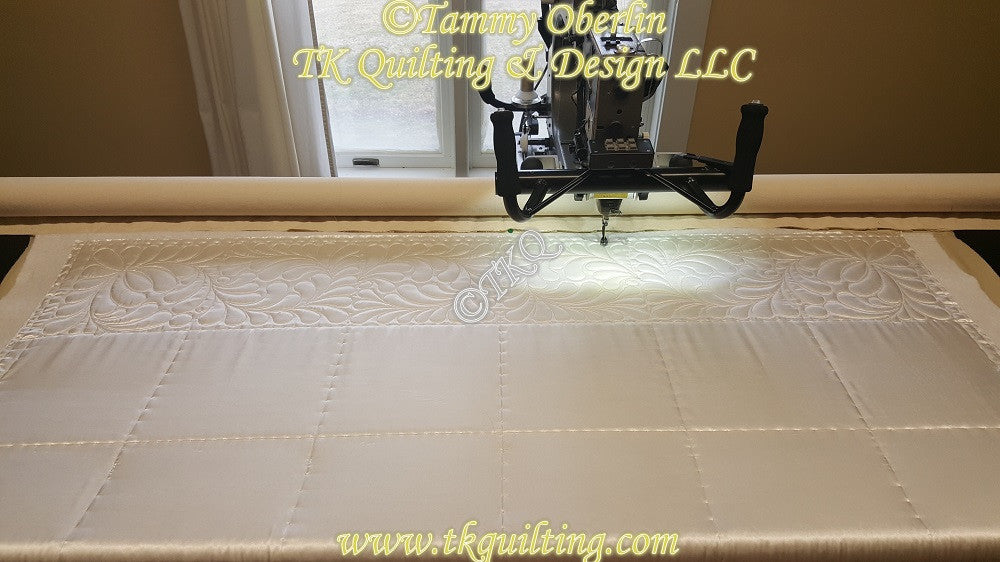
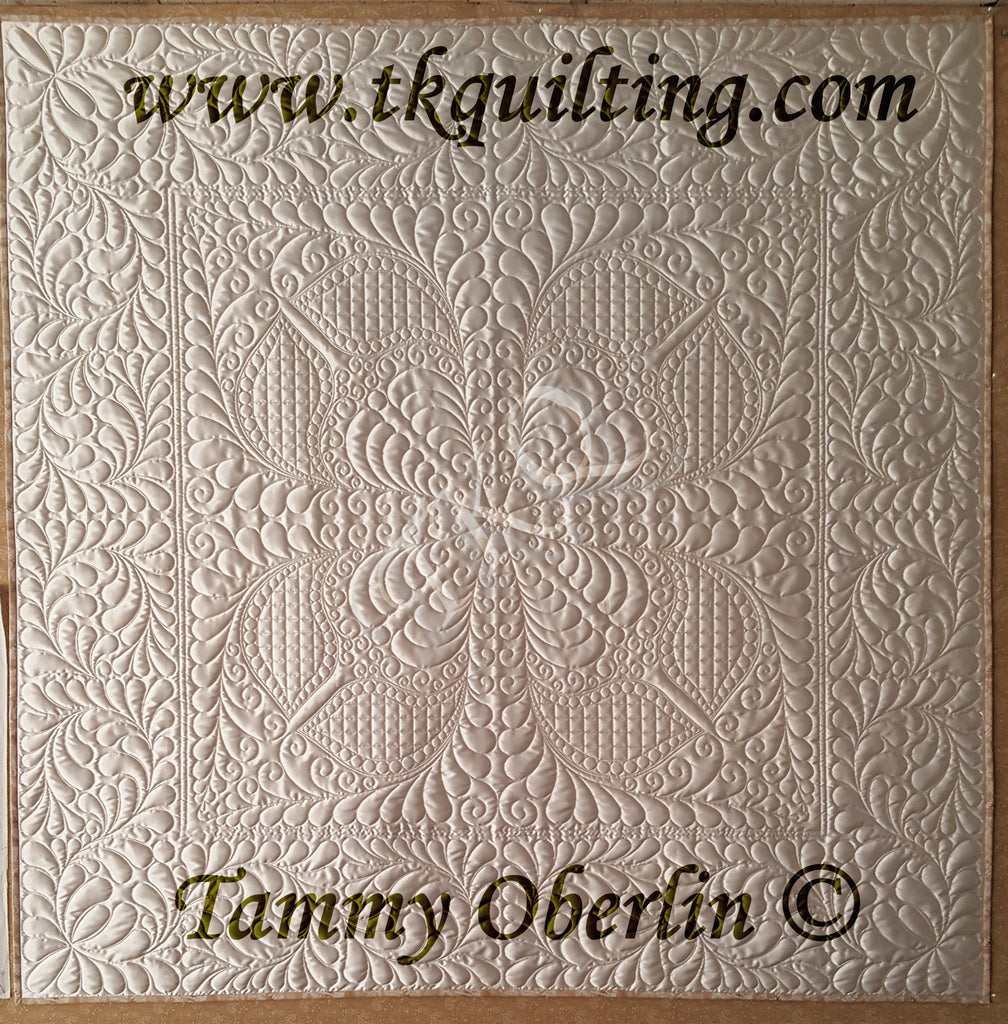
This 68"x68" quilt went amazingly fast!  It looks complicated, but it really is as easy as setting in block patterns.  I have digitized all of the fill into the patterns. It can be made larger or smaller by either adjusting the pattern sizes or adding or removing blocks.  Below are a few tips on how I quilted this one on my Statler Stitcher Optimum.  Instructions are included with the pattern set for fabric cutting sizes, etc.  I used Quilters Dream 80/20 as a base layer and Hobbs Wool on the top batting layer to give the illusion of trapunto.  Michael Miller wide fabric was used top and bottom.  

Click here to buy the set!

Once your quilt is loaded, baste as shown in the basting layout below.  16 inches apart on the blocks and 10 for the border area.  My basting stitches were about an inch apart so they can be removed easily.

Your quilt should now look like this.  (I chose to baste where the smaller inner border was, you do not have to do this.)

Now you can start adding the star blocks to the middle using your basted 16" squares.  Use zero margin, you want the star tips to touch.

Be sure to make sure that your star "points" line up with the other blocks by using a boundary to show where the previous blocks are stitched.

After your 9 blocks are stitched, roll back to top of quilt. Remove the inner border basting threads (top and bobbin) from first section. Use point to point line to stitch inner border boundaries. Use tips of star blocks to click points. Use a ruler to find corners. Stitch the second line one inch away from inner line. Continue down the quilt until all inner border lines are stitched.

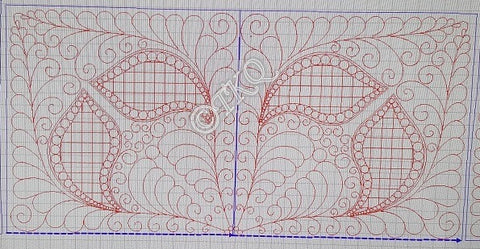
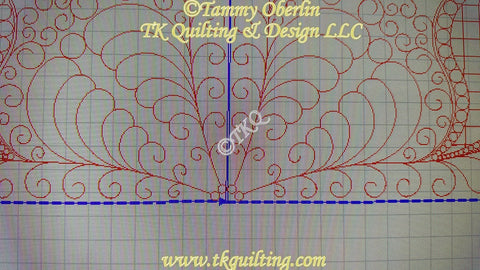
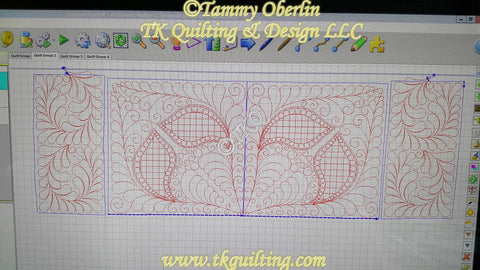
Stitch the outer "setting" blocks next. (3406B abd 3406C) (Shown in pink below) The piano key lines should just touch the stitched border line as shown. Remove basting stitches just before placing the patterns. As you roll the forward on the quilt you can also add the inner blocks 3406A. When these are done you can either stitch a straight line in the first border or a narrow sash pattern. I used 2797A, a point to point sash pattern. Notice that the points to click for the sash pattern is where your basting lines were.

Once the entire center and 1st border are quilted you can add your outer border patterns. They are block patterns. Set all 4 corners 1st. 3406D and 3406D-2 if you have thin batting or 3406D-3,4 &5 if you are using thicker batting.  

Next, use boundary to draw a rectangle (See red lines below) and fit remaining border patterns 3406E. They should line up with the tips of the star blocks as shown by red arrows. 

Voila! That's it!  I washed and blocked mine before adding my binding.  Happy Quilting.  Tammy

Would love to see photos of your finished quilts!

Click here to purchase the Feathered Elegance Whole Cloth Set.


Machine Red Work Quilt

Machine Red Work Quilt

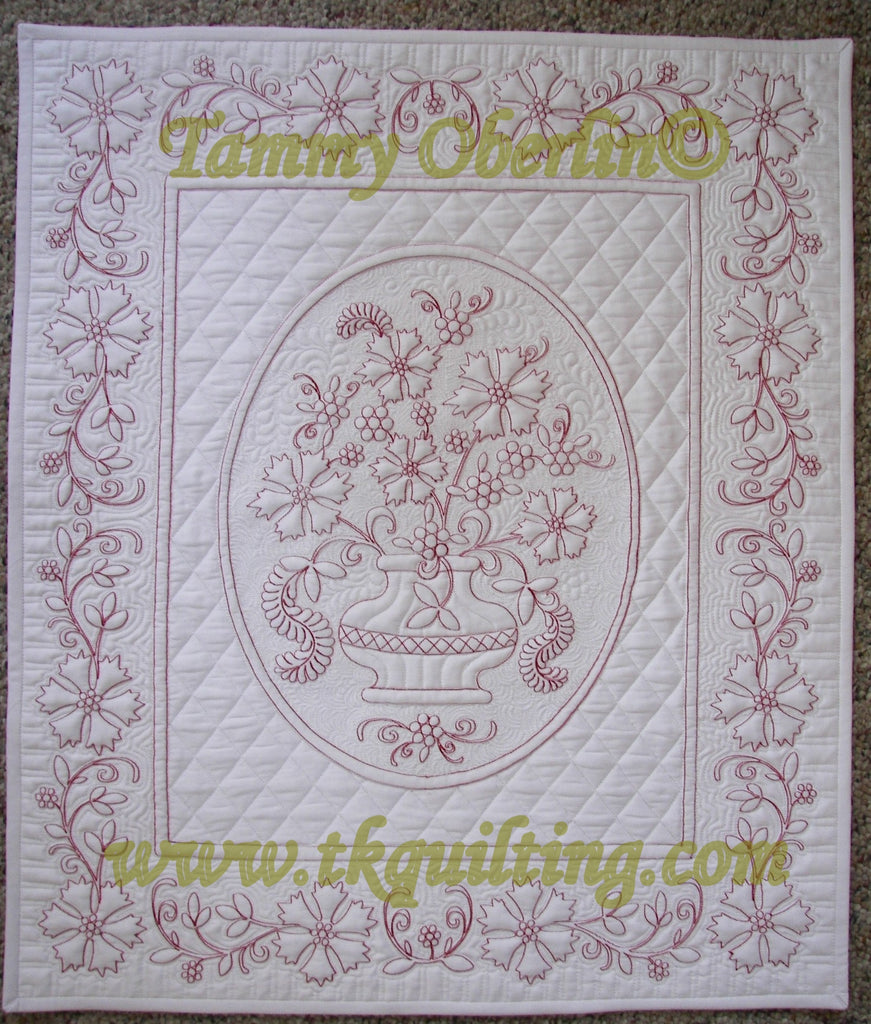
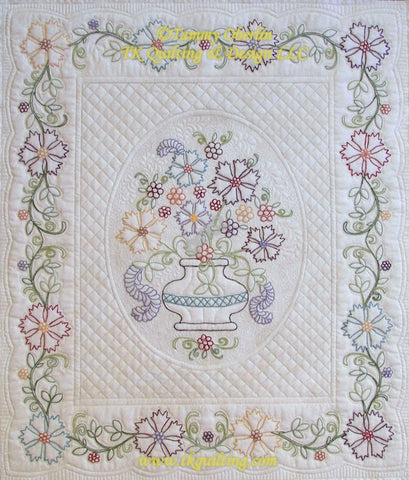
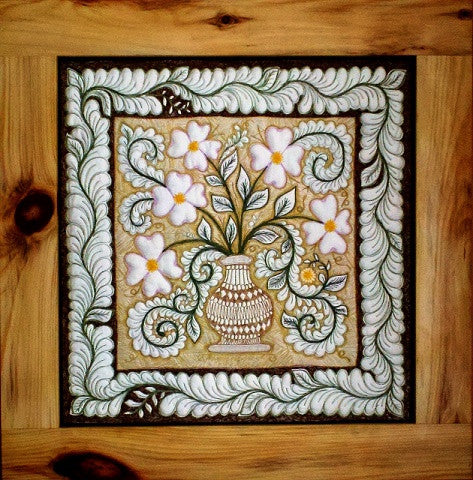
This was a fun little project I did many years ago while I was on a mission to imitate hand red work with my machine.  The pattern is one of mine, Marian's Floral Bouquet.  It is designed at 22 x 26.  It is available as a digital version for computerized quilting machines and printed for hand quilting and embroidery, domestic and long arm quilting, etc.  
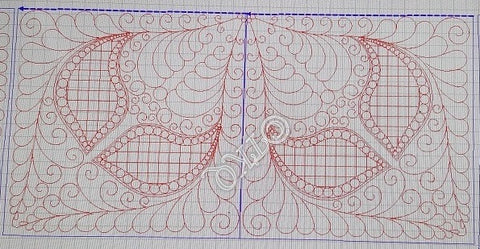
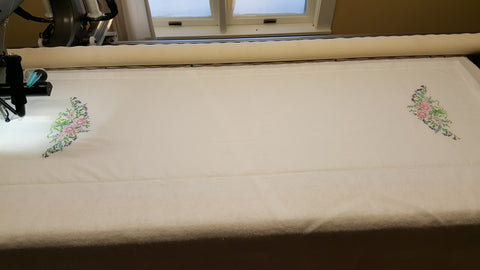
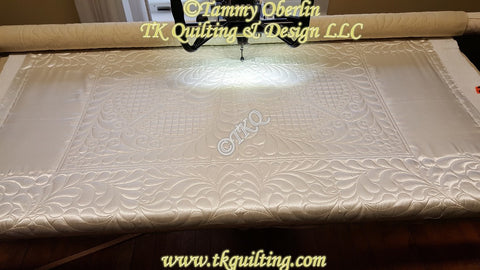
I used white muslin for the back and white cotton sateen for the top.  In this version, I quilted the red work on my computerized machine first with only the batting and top fabric (because I was trying for a traditional look and didn't want the red on the back).  Once the red work was done it was removed from the frame.  I pinned the muslin back onto the frame, added one more thin batting and the "embroidered" top.  I used a combination of ruler work and freehand quilting to finish it.    Hope you enjoy the photos. Links to purchase patterns are below. 
Tammy


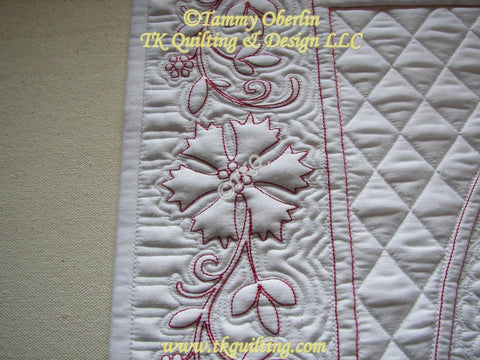
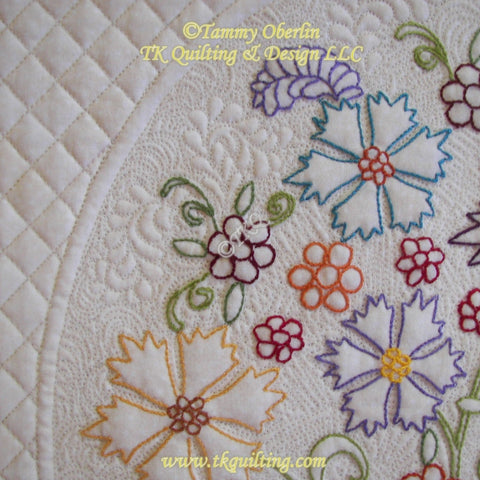
Detail quilting from Marian's Floral Bouquet by Tammy Oberlin

Freehand quilting in border.


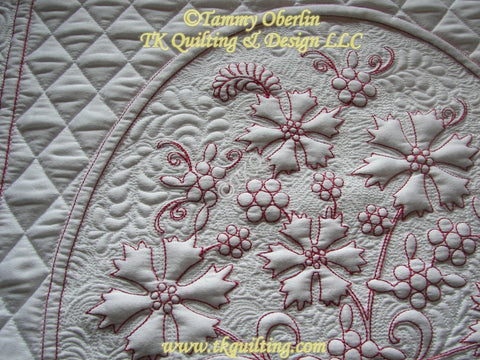
Detail quilting from Marian's Floral Bouquet by Tammy Oberlin

Freehand quilting around the vase of flowers.


Detail quilting from Marian's Floral Bouquet by Tammy K Oberlin TK Quilting & Design LLC

Diamond cross hatch done with rulers.

The photos below are what inspired me to try and get the "hand done" look by machine.  A friend of mine, Robbie Decker, hand embroidered the top using my pattern.  I quilted it on my long arm - freehand.

Marian's Floral Bouquet - Hand embroidered by Robbie Decker, Machine quilted by Tammy Oberlin.

Detail-Marian's Floral Bouquet - Hand embroidered by Robbie Decker, Machine quilted by Tammy Oberlin

 Digital pattern

Printed Pattern

Vintage Pillow Case Table Runner

Vintage Pillow Case Table Runner

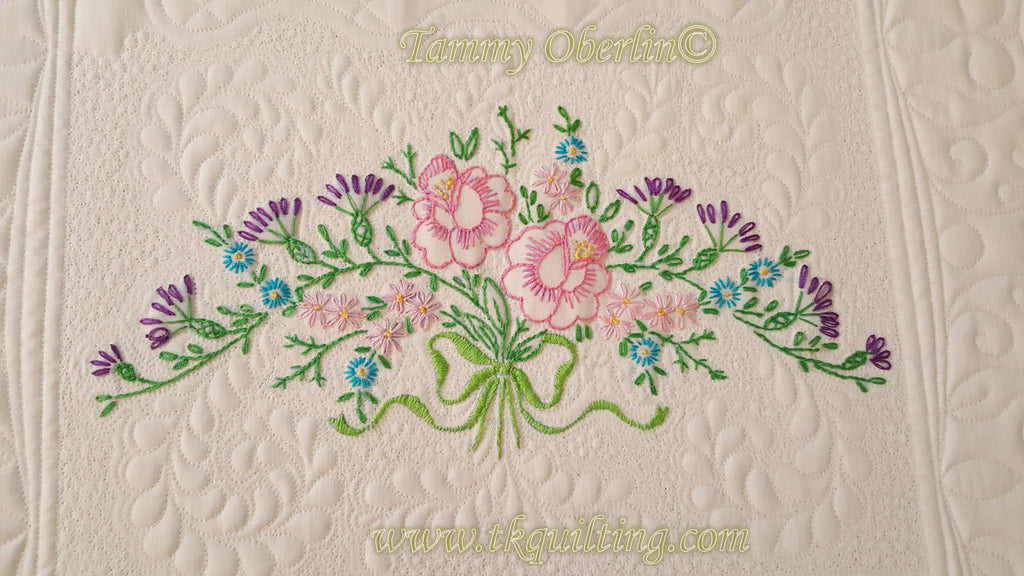
Over the years I have picked up a few sets of beautiful vintage hand embroidered pillow cases.  They can be found at yard sales, estate sales, antique shops, etc.

 Pillow cases loaded on long arm

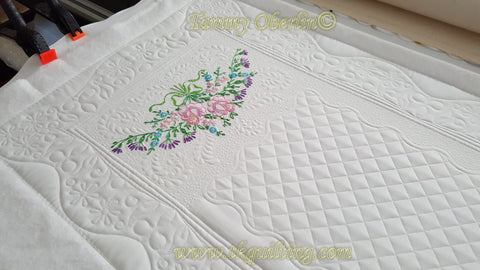
I'm not sure why, but I've never used them on my bed.  I wanted to be able to display the beautiful embroidery, so I decided to make a table or bed runner from a set.  I cut the "tops" from the two pillow cases and sewed them together end to end with the embroidery on the outer edge.  I then layered and quilted them on my long arm machine.  Once they were quilted, you have a hard time finding the seam in the middle.

Vintage hand embroidered pillow case runner in progress

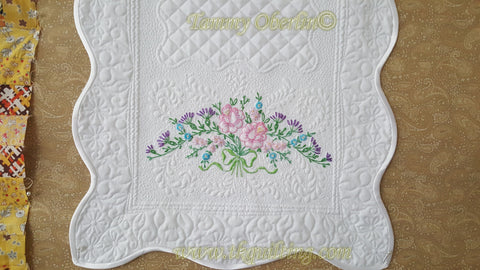
A scalloped edge added a lot to the runner.  

I picked a satin fabric for the binding.  

Satin binding

Hope you enjoy the pics.  


Tammy


Glacier Star Quilting Pictures

Glacier Star Quilting Pictures

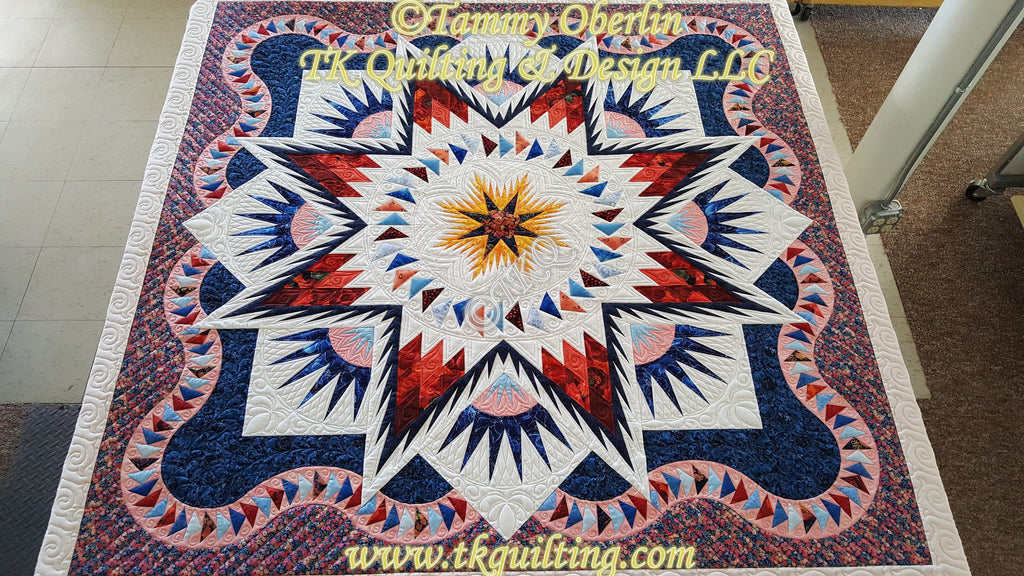
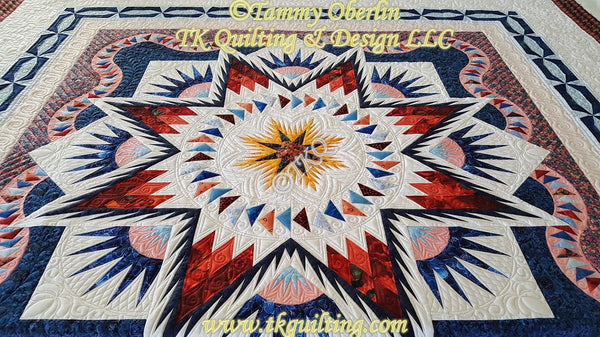
Quilted by Tammy Oberlin - Piecing pattern by Judy Niemeyer - Quiltworx

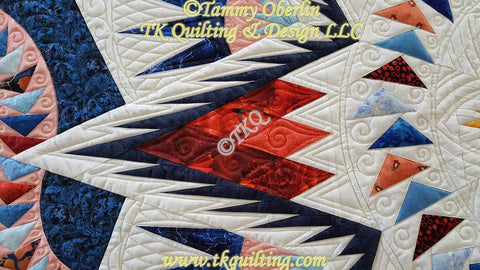
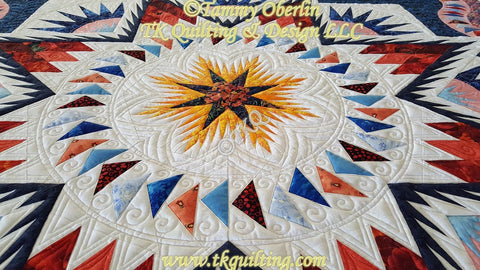
This was a customer quilt and one of my bigger challenges as far as choosing what to quilt on it.  ;-)  Martha did a beautiful job choosing fabrics and with the piecing.  I modified one of my digital designs for the "fan" background, designed a P2P pattern for between the spikes and a feather pattern for the blue background areas.  A lot of the quilting was done freehand and with rulers.  Hope you enjoy the photos.

Tammy

Glacier Star Quilt - Quilted by Tammy Oberlin TK Quilting & Design.  Quiltworx pattern.


2329 Scrolling Feather Border           2329A Scrolling Feather Border Corner.

Glacier Star Quilt Detail 2

2999 Glacier Star Corner Feather Block  

2999A Glacier Star Feather Connector

Glacier Star Quilting Detail

Glacier Star Center Quilting Detail

Enchanted Feather Whole Cloth Quilt - Part 3

Enchanted Feather Whole Cloth Quilt - Part 3

Now that you've seen how to baste the quilt and stitch the top border, let's get on to the next steps to stitch the Enchanted Feather Whole Cloth Quilt.  (If you missed them, see parts 1 and 2 first.)  Be sure to read through entire set of instructions before starting to stitch.

We are going to roll the quilt forward so we can reach the top half of the center medallion #2908B and the border sections #2908A.  See pic below.  You need to be able to reach the tie offs from the top border.

Stitching the lines between the patterns.


First, stitch a double line to separate the center medallion from the border.  See black lines in illustration below.  Use P2P line or a ruler to stitch on either side of your basted lines.  You will repeat this on the lower half of the quilt.  (Your blocks (shown in red)will not be placed at this point.)


Second, create the 2 boundaries to set your center medallion blocks 2908B.  Place one 2908B in the left block with the little pearls facing the center of the quilt.  Then rotate 90 degrees as shown for right block.  You will want the blocks to be placed as shown below.  The centers should be very close to the boundaries near the center of the quilt, with the 1/4 to 1/2  inch allowance around the outer edges.

Top medallion section

Center placement.


Next we will place the first 2 side border sections.

Side borders 1


Create boundaries for left border.  

Left Border 1


Use boundary to indicate where the start and end points of your top border are.  (I make a little triangle to "point" to the tie off.)  This will help in pattern placement.  Place left pattern as shown.  Stitch.

start point indicator

Repeat for right side.  Be sure to mirror your pattern.  Stitch.

Right Border 1


Advance quilt.  Stitch separator lines as before, connecting them to the top set.  Place and stitch two remaining center medallion blocks.  Keep them close to the center basting lines and keep a margin on the outer edges.  Stitch.  *Do not add side border sections at this point.

Bottom medallion blocks.

Advance quilt to place bottom border sections.  Note: They will be rotated 180 degrees from the top border. Stitch.  

Bottom Border


Then roll back so you can stitch the two remaining side border sections.  Use the same technique you used for the first two.  Be sure to position the patterns properly.  *See layout at bottom of page.

Bottom border section

You are done!!!  Bind as desired.  


Enchanted Feather Whole Cloth Layout


Enchanted Feather Whole Cloth Tips - Part 2

Enchanted Feather Whole Cloth Tips - Part 2

Here are the second set of instructions for the Enchanted Feather Whole Cloth.  See Enchanted Feather Whole Cloth Tips - Part 1 for the beginning.

Once your fabric is basted (see Part 1), you can roll back to the top and begin placing patterns.

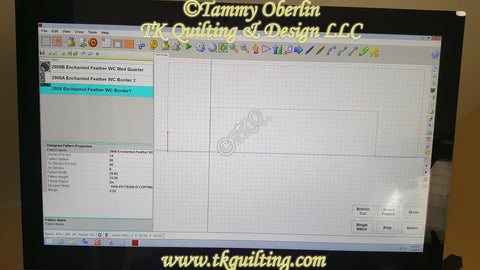
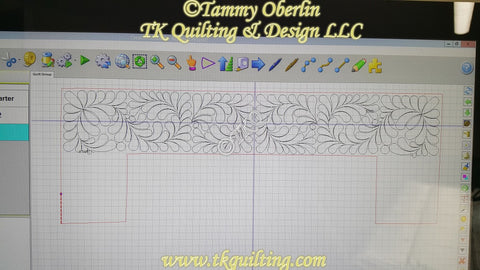
Mark a boundary showing the sides and the top of the border as shown below. (I include the sides to help me with positioning, you won't be filling this area yet.)

Creating boundary for top border

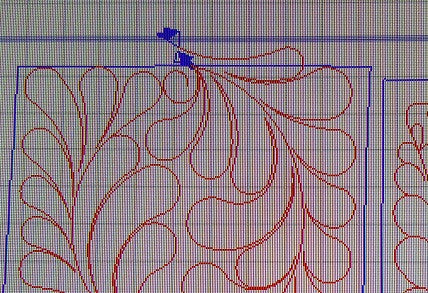
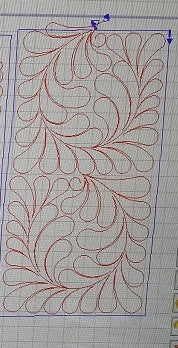
Next, place 2908 in left side of top border.  Copy and mirror 2908 to place in left side of top border.  If you drew a diagonal line from inner to outer corners of the border, the center feathers and circles should line up with the line.

Placement of top border sections.

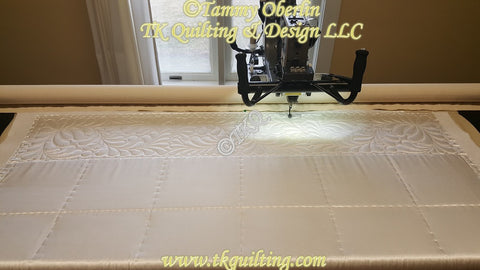
When you are happy with placement, stitch the top section.

Top border stitched.

See Part 3 for next step.


Enchanted Feather Whole Cloth Tips - Part 1

Enchanted Feather Whole Cloth Tips - Part 1


First post

First post

Welcome to the new TKQ store!  It is very exciting (and a little scary) as I start getting things set up here at the new website.  I am very much looking forward to having auto download on the digitized designs.  I decided to let the store go live as I am adding designs, so please check back often to see what is new!  I'll be adding products a few at a time.  You can always shop my old store for patterns while I am getting switched over.  http://store.tkquilting.com/

This is my first go at writing a Blog, so we'll see how it goes.  Please let me know if you have any questions or suggestions for the site.  

Happy Quilting!

Tammy