Now that you've seen how to baste the quilt and stitch the top border, let's get on to the next steps to stitch the Enchanted Feather Whole Cloth Quilt. (If you missed them, see parts 1 and 2 first.) Be sure to read through entire set of instructions before starting to stitch.
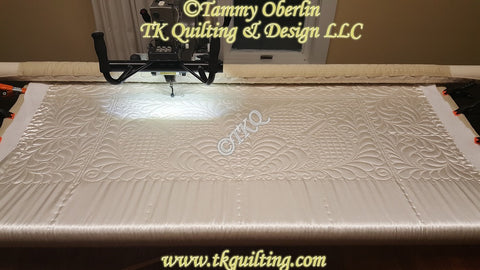
We are going to roll the quilt forward so we can reach the top half of the center medallion #2908B and the border sections #2908A. See pic below. You need to be able to reach the tie offs from the top border.
First, stitch a double line to separate the center medallion from the border. See black lines in illustration below. Use P2P line or a ruler to stitch on either side of your basted lines. You will repeat this on the lower half of the quilt. (Your blocks (shown in red)will not be placed at this point.)

Second, create the 2 boundaries to set your center medallion blocks 2908B. Place one 2908B in the left block with the little pearls facing the center of the quilt. Then rotate 90 degrees as shown for right block. You will want the blocks to be placed as shown below. The centers should be very close to the boundaries near the center of the quilt, with the 1/4 to 1/2 inch allowance around the outer edges.
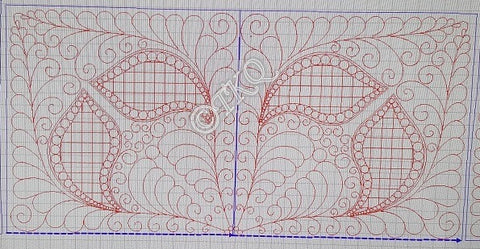
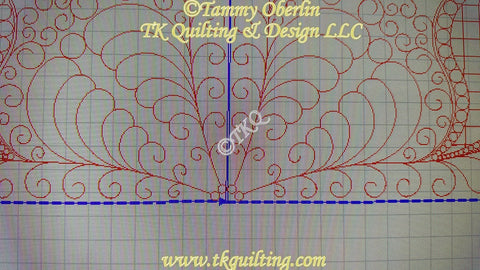
Next we will place the first 2 side border sections.
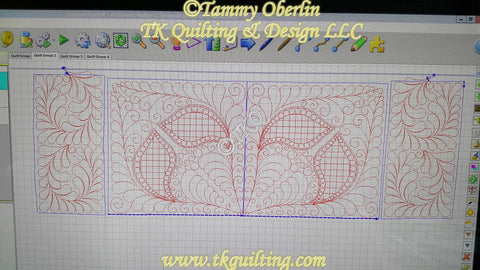
Create boundaries for left border.

Use boundary to indicate where the start and end points of your top border are. (I make a little triangle to "point" to the tie off.) This will help in pattern placement. Place left pattern as shown. Stitch.
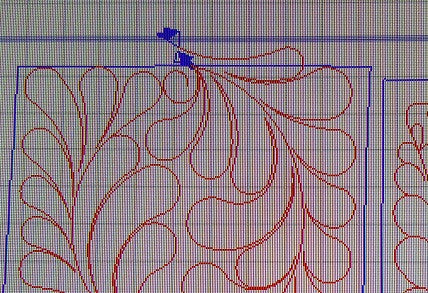
Repeat for right side. Be sure to mirror your pattern. Stitch.
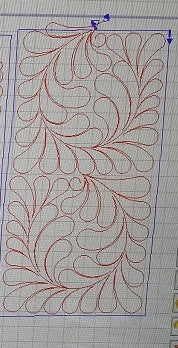
Advance quilt. Stitch separator lines as before, connecting them to the top set. Place and stitch two remaining center medallion blocks. Keep them close to the center basting lines and keep a margin on the outer edges. Stitch. *Do not add side border sections at this point.
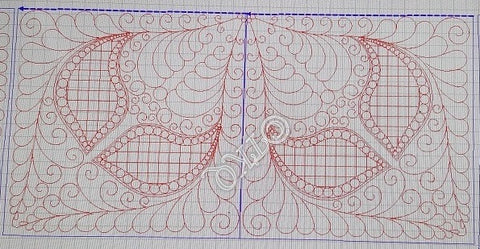
Advance quilt to place bottom border sections. Note: They will be rotated 180 degrees from the top border. Stitch.

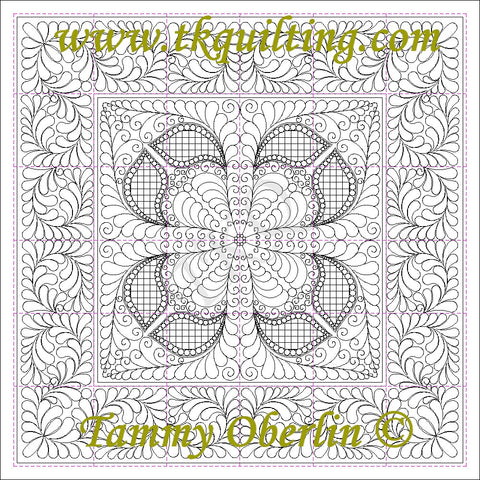
Then roll back so you can stitch the two remaining side border sections. Use the same technique you used for the first two. Be sure to position the patterns properly. *See layout at bottom of page.
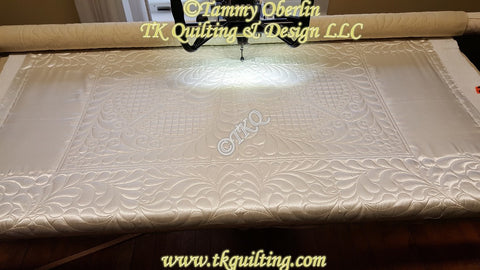
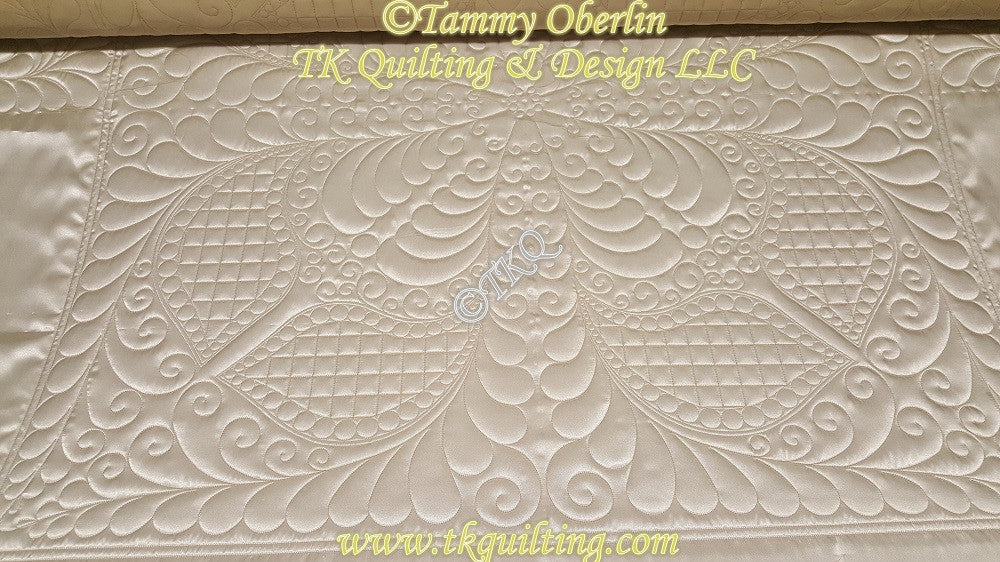
You are done!!! Bind as desired.
Comments